Quickstart
This quickstart will use the ngrok agent to put your application on the internet and secure it so that only you can access it. It assumes you already have your own application running locally.
Step 1: Install
- Mac OS
- Debian Linux
- Windows
brew install ngrok/ngrok/ngrok
curl -s https://ngrok-agent.s3.amazonaws.com/ngrok.asc | \
  sudo gpg --dearmor -o /etc/apt/keyrings/ngrok.gpg && \
  echo "deb [signed-by=/etc/apt/keyrings/ngrok.gpg] https://ngrok-agent.s3.amazonaws.com buster main" | \
  sudo tee /etc/apt/sources.list.d/ngrok.list && \
  sudo apt update && sudo apt install ngrok
choco install ngrok
Run this in an Administrator Command Prompt.
Or download the ngrok agent from our Download page if you can't use one of the options above.
Going to the Setup & Installation page in the dashboard will also provide installation directions and commands specific to your platform.
The ngrok agent is a zero-dependency CLI program that runs on all major operating systems. Test that you installed it correctly by running the following command in your terminal and confirm that ngrok prints its help text.
ngrok help
Step 2: Connect your account
Next, connect your ngrok agent to your ngrok account. If you haven't already, sign up for an ngrok account. Copy your ngrok authtoken from your ngrok dashboard.
Run the following command in your terminal to install the authtoken and connect the ngrok agent to your account.
ngrok config add-authtoken <TOKEN>
Going to the Setup & Installation page in the dashboard will also provide a configuration command specific to your account.
Step 3: Put your app online
Start ngrok by running the following command.
ngrok http http://localhost:8080
We're assuming that you have a working web application listening on http://localhost:8080. If your app is listening on a different URL, change the above command to match.
You will see something similar to the following console UI in your terminal.
ngrok                                                                   (Ctrl+C to quit)

Session Status                online
Account                       inconshreveable (Plan: Free)
Version                       3.0.0
Region                        United States (us)
Latency                       78ms
Web Interface                 http://127.0.0.1:4040
Forwarding                    https://84c5df474.ngrok-free.dev -> http://localhost:8080

Connections                   ttl     opn     rt1     rt5     p50     p90
                              0       0       0.00    0.00    0.00    0.00
Open the Forwarding URL in your browser and you will see your web application.
- This URL is available to anyone on the internet. Test it out by sending it to a friend!
- Your app is available over HTTPS (notice the 🔒 in your browser window) with a valid certificate that ngrok automatically manages for you.
Step 4: Always use the same domain
If you want to keep the same URL each time you use ngrok, create a static
domain on your dashboard and
then use the --domain flag to ask the ngrok agent to use it. First, stop
ngrok with Ctrl+C and then run ngrok again:
ngrok http 8080 --domain jumpy-red-mollusk.ngrok-free.app
Step 5: Secure your app
You may not want everyone to be able to access your application. ngrok can
quickly add authentication to your app without any changes. If your Google
account is alan@example.com, you can restrict access only for yourself by
running ngrok with:
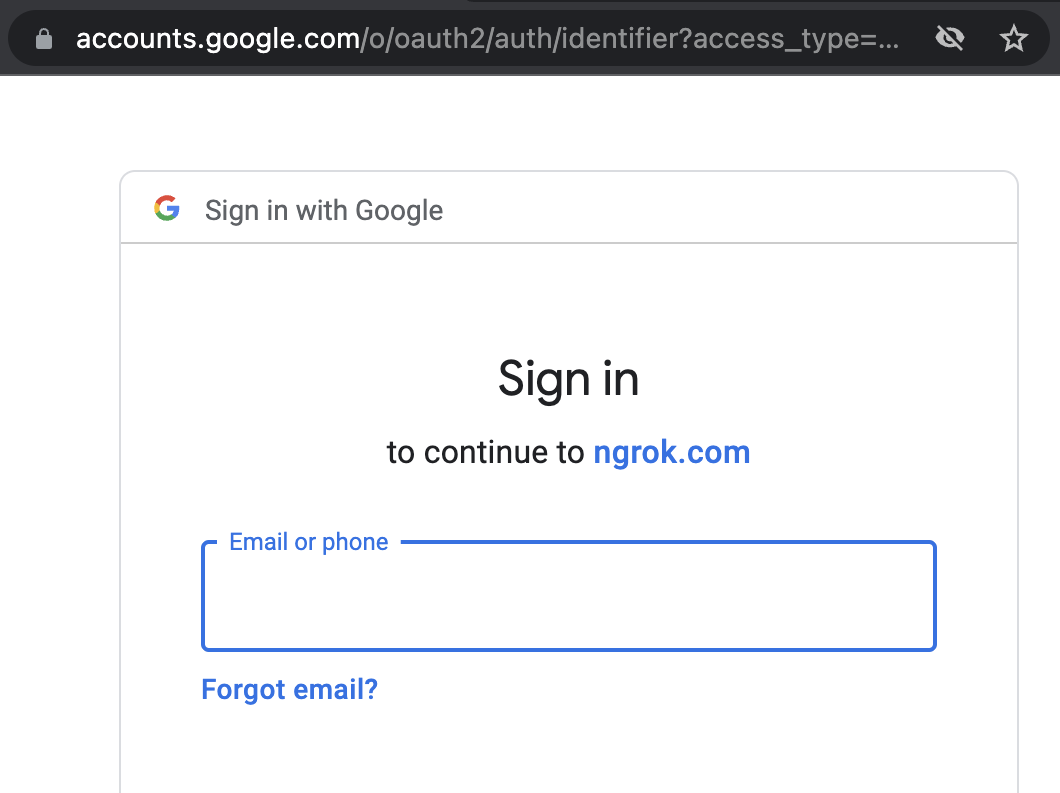
ngrok http http://localhost:8080 --oauth=google --oauth-allow-email=alan@example.com
Anyone accessing your app will be prompted to log in with Google and only your
account will be allowed to access it. Keep in mind that when you restart ngrok,
if you don't specify the --domain flag that your app's URL changed, so make
sure to visit the new one.

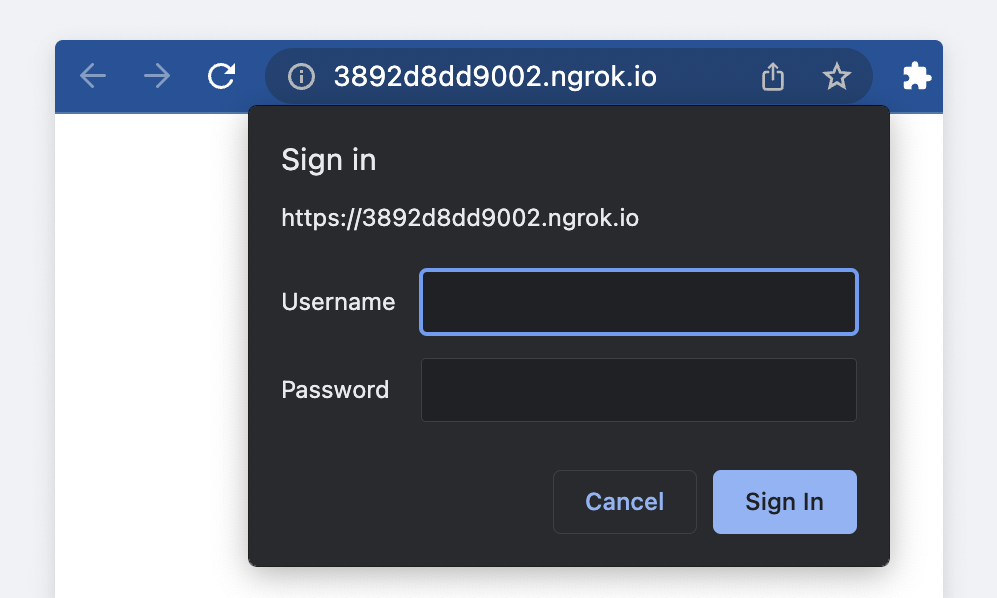
If you don't have a Google account or you want a simpler form of auth, you can protect your app with a username and password like so:
ngrok http http://localhost:8080 --basic-auth 'username:a-very-secure-password'

ngrok supports many forms of authentication including:
- OAuth (what we just used)
- Basic Auth (what we just used)
- IP Restrictions
- Webhook Verification
- Mutual TLS
- OpenID Connect
- SAML
Running ngrok Persistently
While this guide gets you started with ngrok, you might want your tunnel to keep running even after you close your terminal window. Here are a few options to achieve this:
-
Using Docker: Docker allows you to containerize ngrok for easy deployment and management. See the documentation for Docker configuration.
-
Systemd service (Linux): For systemd-based systems, you can create a systemd service to automatically start and manage ngrok. Refer to the documentation for Systemd service creation.
-
Windows service (Windows): For Windows systems, you can create a Windows service to automatically start and manage ngrok. Refer to the documentation for Backgound Service.
-
Detaching a Tmux session (optional): If you're familiar with Tmux, you can detach your ngrok session from your terminal window. (Note: This is an advanced option).Refer to a guide on using Tmux for more information:
What's next?
- Browse examples in the HTTP documentation of other ways ngrok can augment your application
- Bring your own custom domain to ngrok
- Create connectivity to non-HTTP services such as SSH, RDP, or game servers using TCP Endpoints
- Embed ngrok in your app programmatically without the agent with our Agent SDKs
- Add your API key and automate via the
ngrok apicommand